a Butterfly Ball.
It is true I have been planning Avery's first birthday party since her arrival.
Why? She is special.
And as her mother I wanted to create an experience that will allow her to know, when she looks back at pictures, how special she is to me. All the late hours were time that I was ENJOYING the art of creating and also time that I was reflecting on what a blessing our butterfly has been to us.
Plus I can't deny crafting helps me feel better when I watch Desperate Housewives, Brothers and Sister, The Bachelor, Glee, Parenthood and a few more along the way. (wink, wink)
The Invitation


thank you to Jordan Morales for her photography!
Linking with: Tatertots and Jello, Craftomaniac, The Creative Girl, Skip to my Lou, Tip Me Tuesday, Today's Creative Blog, Type A, Designer Garden
 Read more...
Why? She is special.
And as her mother I wanted to create an experience that will allow her to know, when she looks back at pictures, how special she is to me. All the late hours were time that I was ENJOYING the art of creating and also time that I was reflecting on what a blessing our butterfly has been to us.
Plus I can't deny crafting helps me feel better when I watch Desperate Housewives, Brothers and Sister, The Bachelor, Glee, Parenthood and a few more along the way. (wink, wink)
The Invitation


Invitation and paper good by Fresh Chick Designs. Rebecca is my girl!
The Dessert Table
For the backdrop I use a 4x4 piece of plywood that I cover.

Custom burlap table cloth by Sweet Tea and Linen

Chocolate covered Oreos by Erin from naturally i

Cupcakes made by my pal Eva

I made my first little cake.
Not perfection but I am proud I made it.
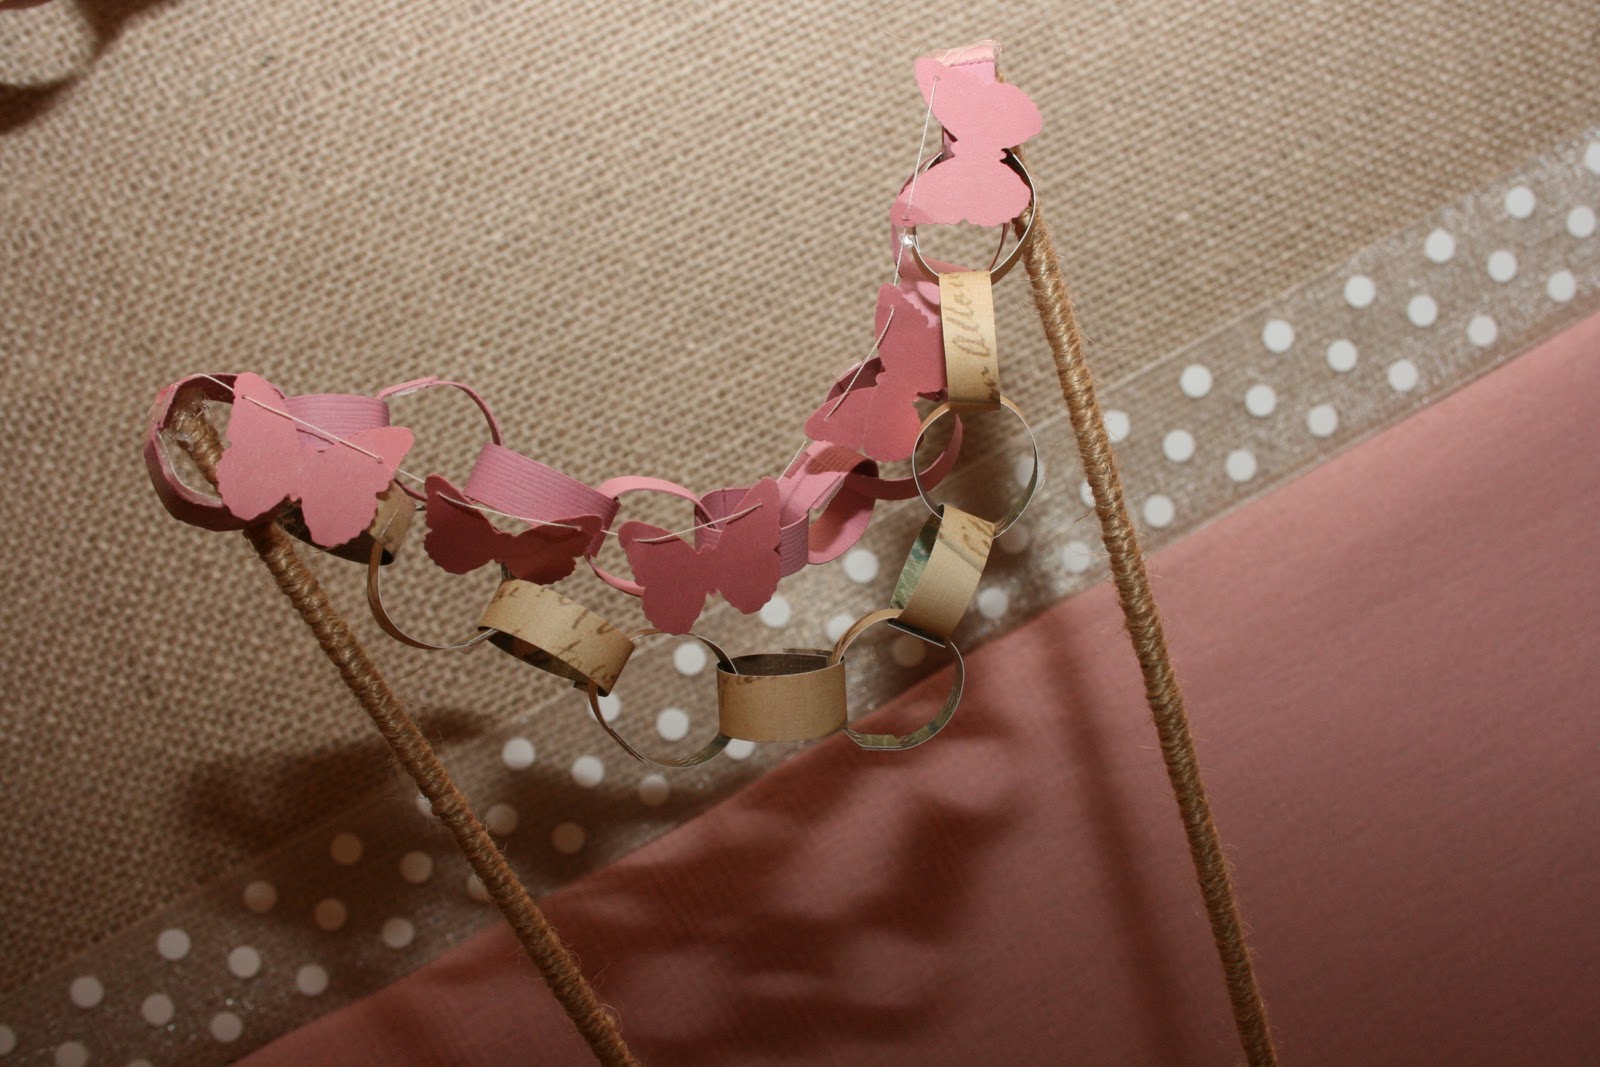
Butterfly cake bunting I made.

I made the signs with my Silhouette.


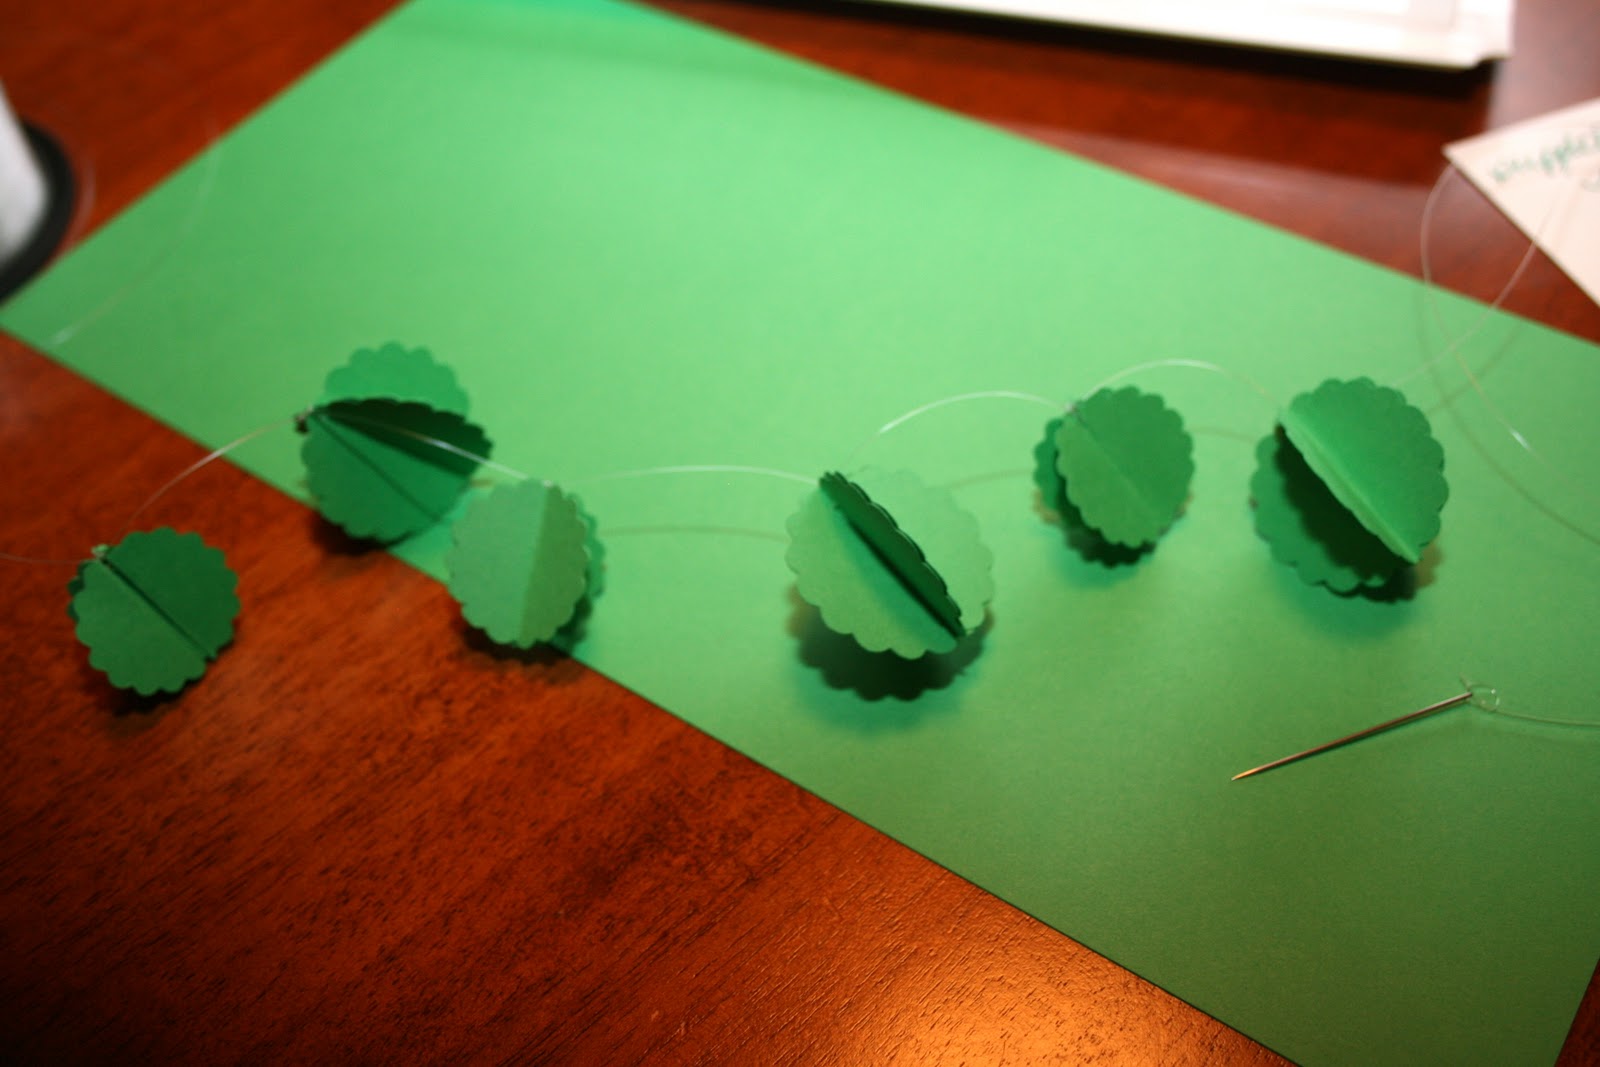
The paper flowers were a labor of love.

The dessert plates were strawberry baskets lined with doilies.
The Craft Station


Mobiles I made. I really liked the tulle poms.


Crayons resided in my silver infant cups.
Entrance

Rather than gifts we had guests bring books that will be donated to the Phoenix Children's Hospital.


Ribbon Window

Banner made with the Silhouette.


The Extras

I rescued this frame from a trash dump.
Spray paint is a miracle worker. It made a great welcome sign.


Custom "sippy cups" for each child.
The cups were found at the Dollar Tree.

White butterfly balloons
The Birthday Girl


Priceless!
thank you to Jordan Morales for her photography!
Linking with: Tatertots and Jello, Craftomaniac, The Creative Girl, Skip to my Lou, Tip Me Tuesday, Today's Creative Blog, Type A, Designer Garden
Read more...